
Tuesday, January 30, 2018
Salt Shaker
Thursday, January 18, 2018
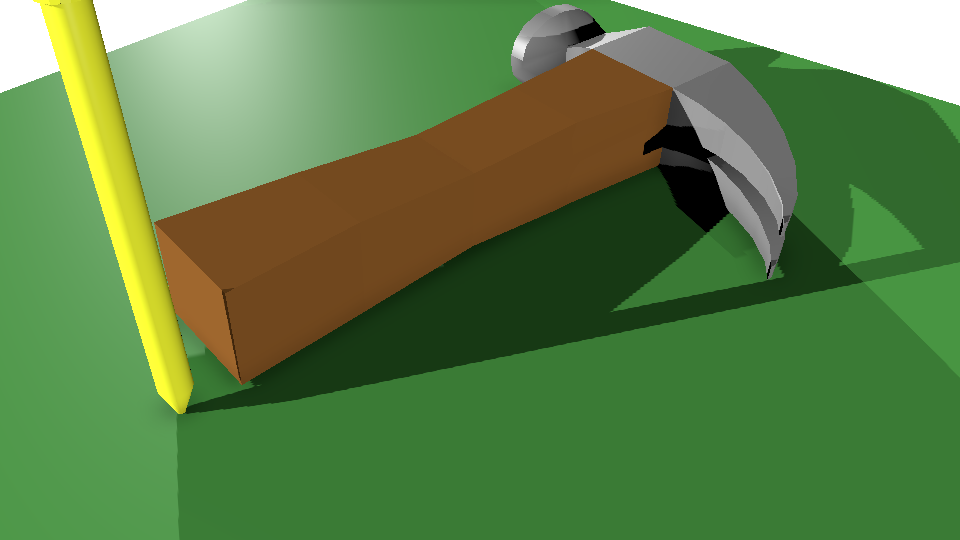
Hammer time!
For our next Maya project, we were tasked with creating a hammer and nail. Now, this project was difficult and surprisingly frustrating for me. I got sick in the middle of it and missed days of work. But, I ended up getting it finished and I think it turned out all right!
Lucky for us, we had instructions to go off of and follow in Google classroom. There were a couple of small detail instructions missing here and there and that made it pretty hard for me to keep a steady pace. I got stuck for a while trying to figure out how to get the back end of the hammer to split in two. This was the point that I missed three days of school. When I came back, I was more confused than when I left, but I ended up figuring everything out. Mr. Olson got an updated version for us to work off of and that helped a lot. I was finally able to get the shape of the back end of the hammer right and move on to the other side. The head of the hammer took a couple tries for me to get right but I figured it out. The shape of the handle was the easiest and fastest step to get done. The nail took a couple tries, too, but I got it done and out of the way.
Shading was easy even though it took a couple tries. My hammer was sort of dark in the end, but it's at least the right colors. The grey is sort of off and the brown doesn't go with it really well, but hey, it works. My nail is a nice yellow-gold color and it's rocking and living it's best life. I like the way my nail turned out.
The first time I attempted three point lighting it was close to a disaster. I tried, like, six times and I ended up needing close to six people to figure out where I went wrong. This time went much better, luckily. I think I only needed one person to keep me to the right track and got it done sort of quickly. Sadly, when I got into rendering something was off and I had to readjust the lights a lot. I still really don't understand the process of rendering if it doesn't go well the first time. I can't really adjust it well. I had someone help me with the rendering and I got it out of the door!

Subscribe to:
Posts (Atom)